How to install Ubuntu Server 22.04
Brief Overview of Ubuntu Server
Ubuntu Server is a version of the Ubuntu operating system developed by Canonical and open source developers for servers1. It is designed to run on various architectures, such as x86, x86-64, ARM, POWER8, and IBM System. It can be used for a wide range of server applications, including websites, applications, files, containers, cloud services, and more.
Ubuntu Server ISO
To install an operating system on physical hardware or a virtual machine you will require an ISO image from the official Ubuntu website. LTS is recommended and it can be downloaded from this link.
Virtual Machine Install
If you plan to install on a virtual machine, you simply need to make sure that the ISO is mounted to the DVD-ROM drive of your hypervisor before booting it the first time. Here is an example for Proxmon:
If you intend to install Ubuntu Server on a virtual machine, the process is slightly different. Instead of creating a physical bootable USB drive, you’ll need to ensure that the ISO file is virtually mounted to the DVD-ROM drive of your hypervisor before the initial boot. Here’s an example for Proxmox:
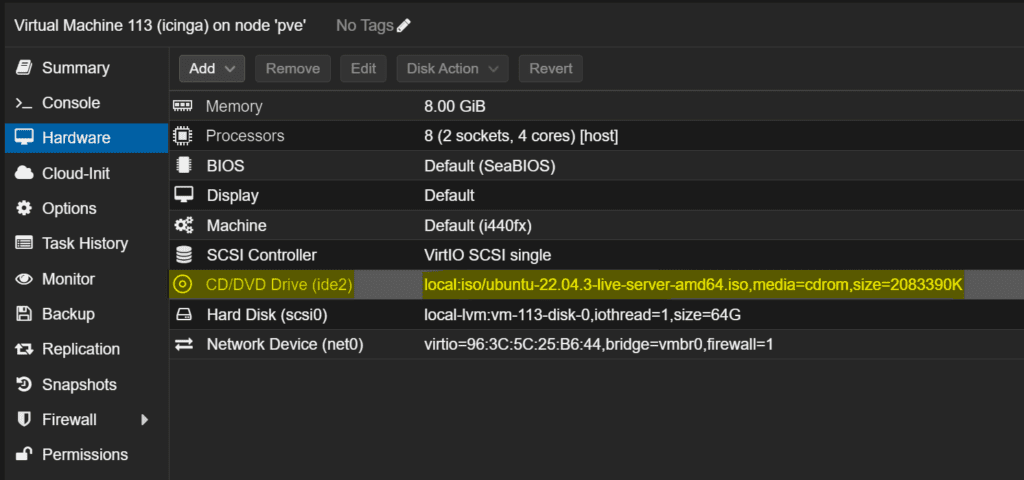
- Log into Proxmox: Access your Proxmox Virtual Environment (Proxmox VE) management interface.
- Select Your Virtual Machine: Choose the virtual machine (VM) where you want to install Ubuntu Server.
- Edit VM Configuration: Click on the VM’s name, and then click “Hardware” to access the hardware settings.
- Add CD/DVD Drive: In the “Hardware” tab, click the “Add” button and select “CD/DVD Drive.”
- Choose ISO Image: In the “CD/DVD” settings, select “Local: ISO Image” and click “Browse” to locate and select the Ubuntu Server ISO file that you downloaded.
- Confirm Configuration: Ensure that the CD/DVD drive is set to boot first in the boot order. You can adjust the boot order by dragging the CD/DVD drive to the top of the list in the “Boot Order” section.
- Save Changes: Save the VM configuration changes.
- Start the VM: Start the virtual machine. It should now boot from the ISO file you’ve mounted.
- Proceed with Installation: Follow the on-screen instructions to install Ubuntu Server within the virtual machine, just as you would on a physical server.
- Complete Installation: After the installation is finished, you can remove the virtual CD/DVD drive from the VM’s configuration or simply unmount the ISO file. Make sure to configure the VM to boot from the hard drive or preferred boot device in the future.
That’s it! You’ve successfully mounted the Ubuntu Server ISO to a virtual machine in Proxmox and can now proceed with the installation within the virtual environment. You can skip the next section.
Creating a Bootable USB Drive
Creating a bootable USB drive for Ubuntu Server ISO involves a few steps. You’ll need a USB flash drive with enough capacity (usually 4GB or more) and the Ubuntu Server ISO file downloaded from the official Ubuntu website. Here’s a step-by-step guide:
Note: Be careful when working with disk partitions and make sure you have backed up any important data on the USB drive, as the process will erase all existing data on it.
- Download Ubuntu Server ISO: Go to the official Ubuntu Server download page (https://ubuntu.com/download/server) and download the latest version of Ubuntu Server ISO. Make sure you download the version that matches your system architecture (e.g., 64-bit or 32-bit).
- Download Etcher (or another USB writing tool): You’ll need a tool to write the ISO file to the USB drive. One popular tool is “Etcher,” which is available for Windows, macOS, and Linux. You can download Etcher from its official website (https://etcher.io/).
- Insert the USB Drive: Insert the USB flash drive into an available USB port on your computer.
- Open Etcher: Run Etcher on your computer. You may need to provide administrator privileges if prompted.
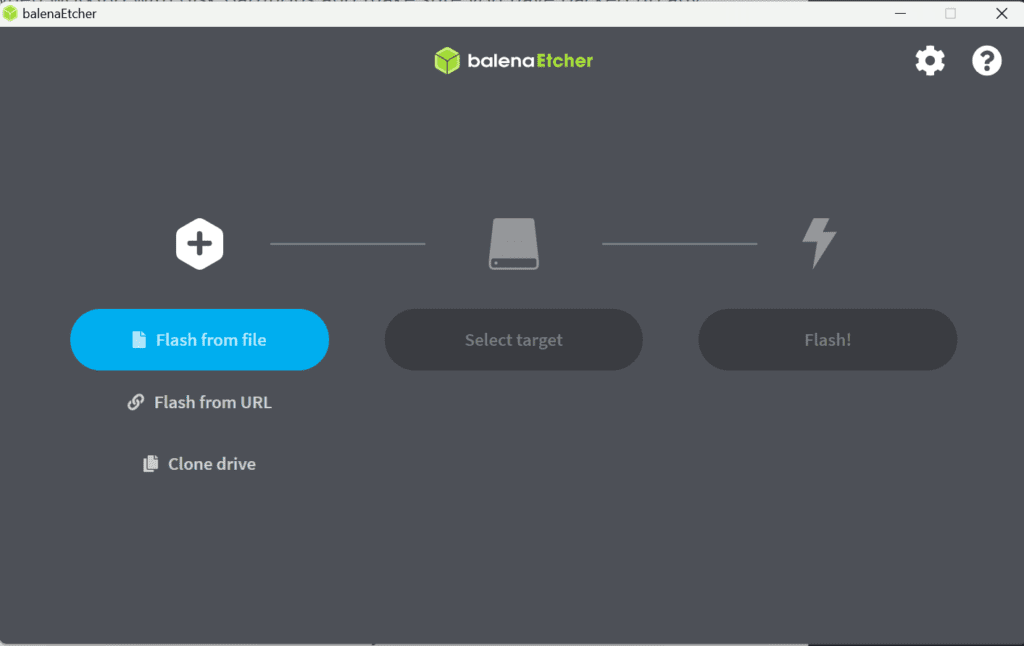
- Select the Ubuntu Server ISO: In Etcher, click on the “Select Image” button and navigate to the location where you downloaded the Ubuntu Server ISO file. Select the ISO file.
- Select the USB Drive: Click on the “Select Target” button and choose your USB flash drive from the list of available drives. Make sure you select the correct drive, as all data on it will be erased.
- Write the ISO to the USB Drive: Double-check that you’ve selected the correct ISO file and USB drive. Then, click the “Flash!” button to start writing the ISO file to the USB drive. This process may take a few minutes.
- Verify the Write Process (Optional): Etcher will verify the write process automatically. This step ensures that the data was written correctly to the USB drive.
- Eject the USB Drive: Once Etcher completes the writing process and verifies it, eject the USB drive safely from your computer.
- Boot from the USB Drive: Insert the bootable USB drive into the computer where you want to install Ubuntu Server. Restart or power on the computer, and access the BIOS or UEFI settings to change the boot order to prioritize the USB drive. Save your changes and exit the BIOS/UEFI settings.
First Boot
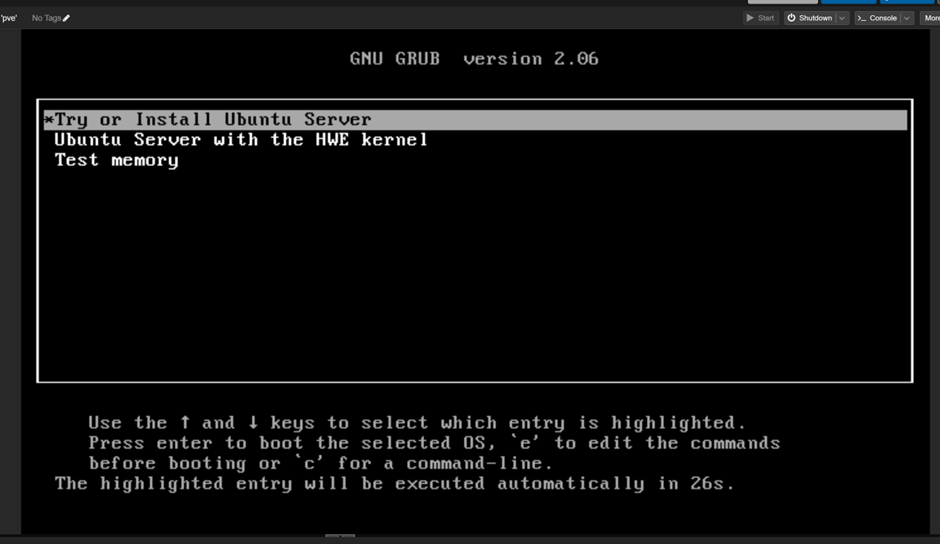
Press Enter to start installation
What is GRUB in Linux
GRUB, which stands for Grand Unified Bootloader, is a software that loads the Linux kernel. It’s the first software that starts at a system boot. When the computer starts, BIOS first runs a Power-on self-test (POST) to check hardware like memory, disk drives and that it works properly. Then BIOS checks the Master Boot Record (MBR), which is a 512 byte section located first on the Hard Drive. It looks for a bootloader like GRUB. The hard drive’s partition tables are also located here.
The GRUB menu can contain a list of the operating systems installed (in the case of dual boot), or perhaps the different kernels installed in a Linux distro. When you choose which distro or kernel you want to use, GRUB loads the selected kernel. The kernel starts init (or systemd), which is the first process to start in Linux. Init then starts other processes like network services and others that you might have configured to start at boot time.
GRUB is also a boot manager. The boot loader is the part of GRUB that loads the kernel of the operating system into memory. The boot manager part of GRUB is the menu that allows you to select different operating system kernels to load.
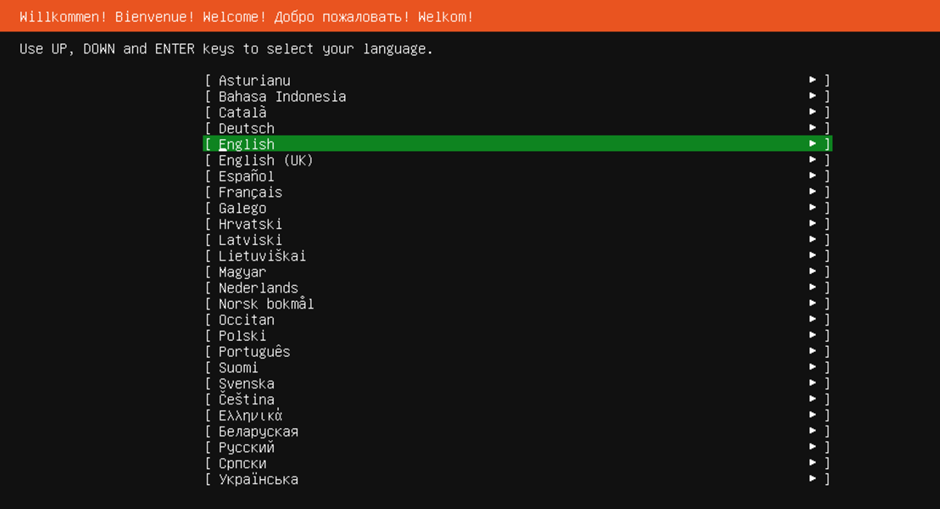
Choose your OS language
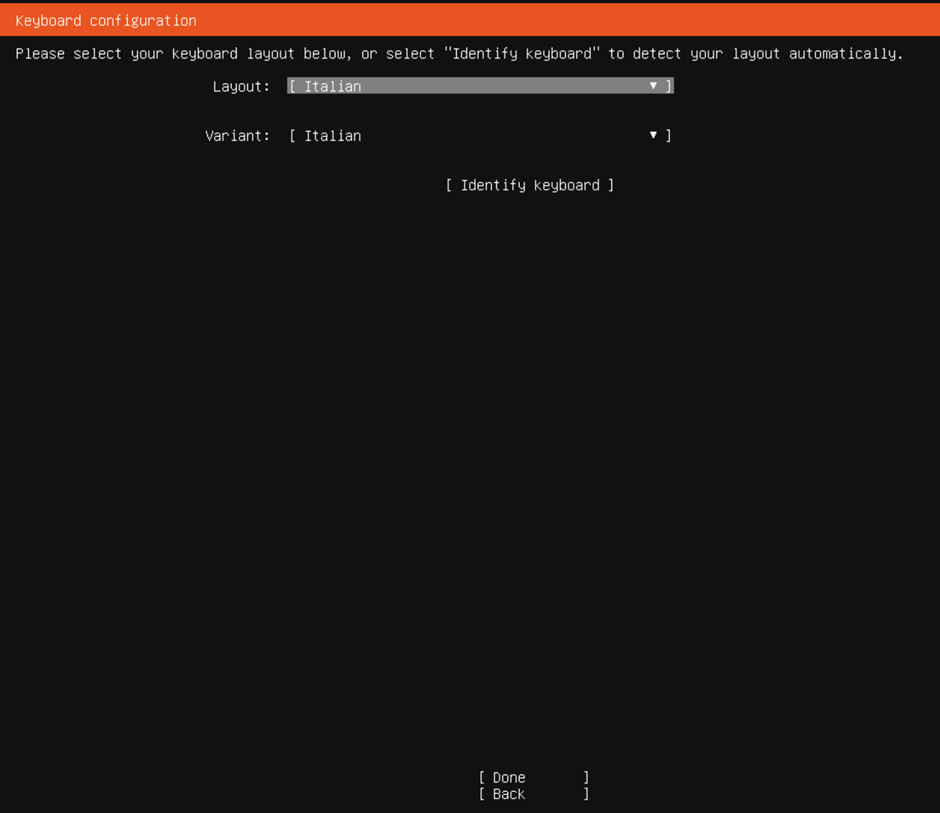
Choose your Keyboard layout
Confirm Installation Option
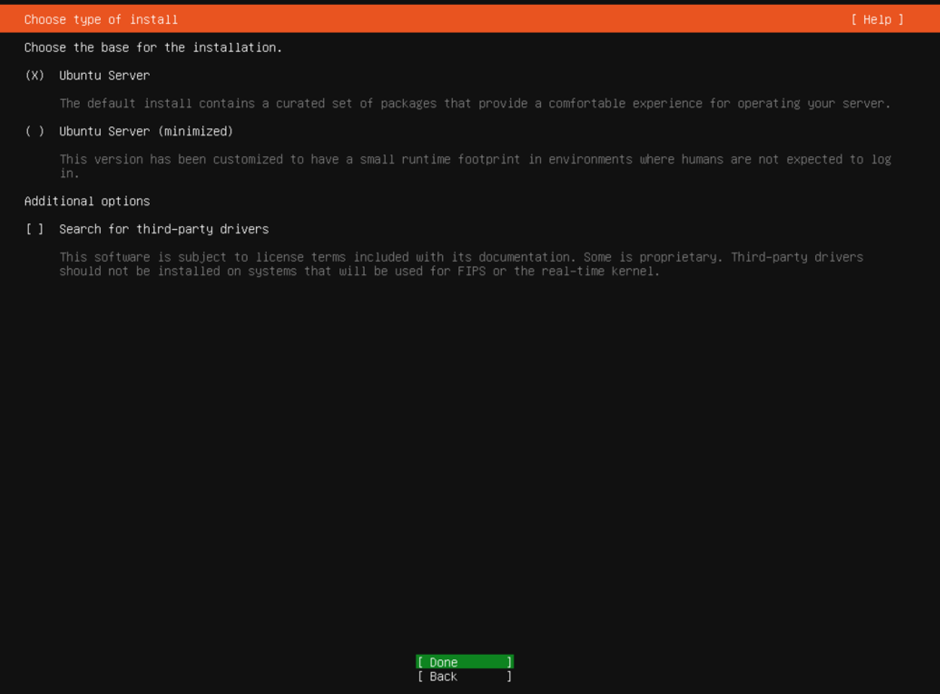
Ubuntu Server Minimized is a version of Ubuntu Server that is designed to be as compact as possible. It’s often used in cloud operations due to its small size and faster boot times. The Minimized version downloads packages from online archives at installation time instead of providing them on the install CD itself. This reduces the size of the install CD to approximately 5 to 20MB depending on architecture, and provides only the packages needed for installation. The download time savings achieved by using a Minimal CD can be significant, as only current packages are downloaded, so there is no need to upgrade packages immediately after installation.
The key difference between Ubuntu Server and Ubuntu Server Minimized lies in the number of programs installed by default. The normal Ubuntu Server edition provides a common base for all sorts of server applications and allows you to choose at installation what server applications you want. It’s optimized for various server applications, such as file/print services, networking, DNS, web hosting, email hosting, wiki server, version control server.
On the other hand, the Minimized version installs only the bare minimum needed to get you to the command line. You will need to install anything else yourself. This means that it uses less disk space initially, but after you install the OS and any additional software you need, it may end up using more space.
In summary, if you know exactly what software you need and prefer to have a lean system with only those specific packages installed, Ubuntu Server Minimized could be a good choice. If you prefer a more out-of-the-box experience with many commonly used server applications pre-installed, then the normal Ubuntu Server edition would be more suitable.
Press “Done”
Network
After a few seconds you should see an IP address assigned to your server

Press “Done”
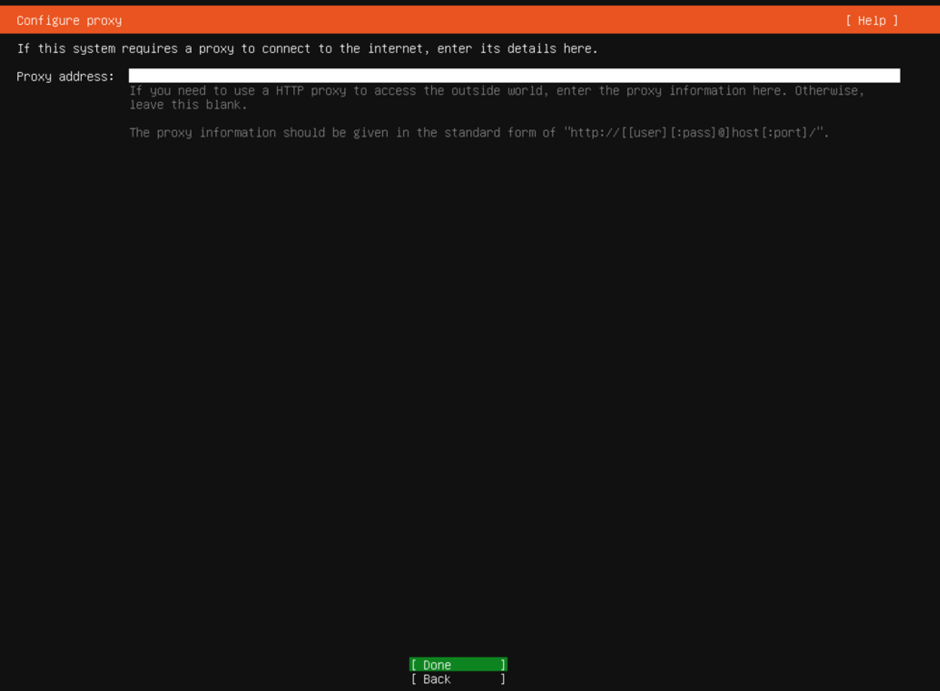
Add Proxy (Optional)
Press “Done”
Ubuntu Archive Mirror
The server will test if it can reach its repositories, wait till you see something similar to this:
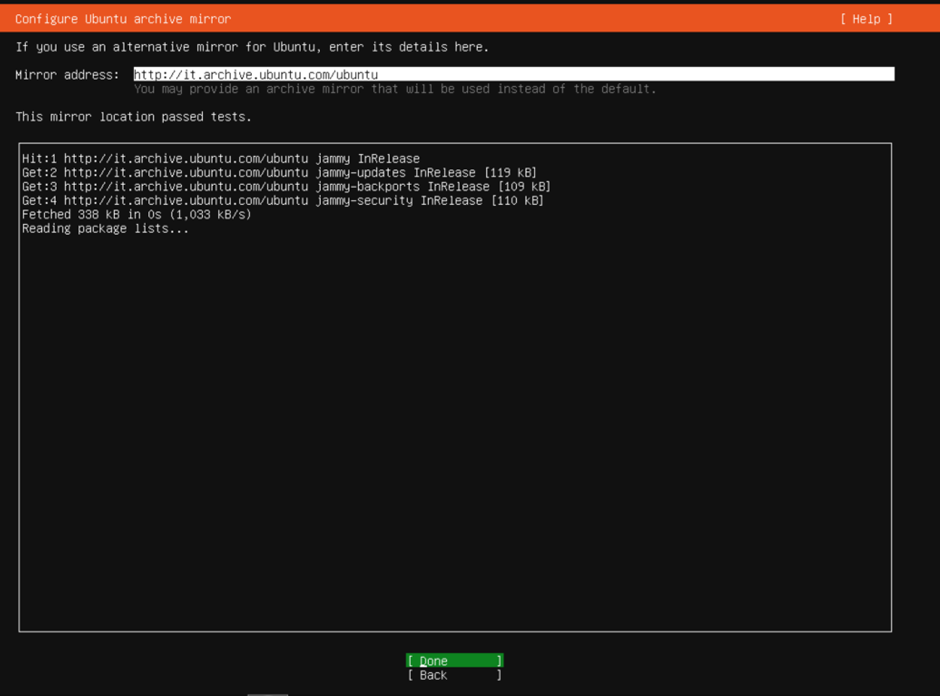
Press “Done”
Confirm Storage Configuration
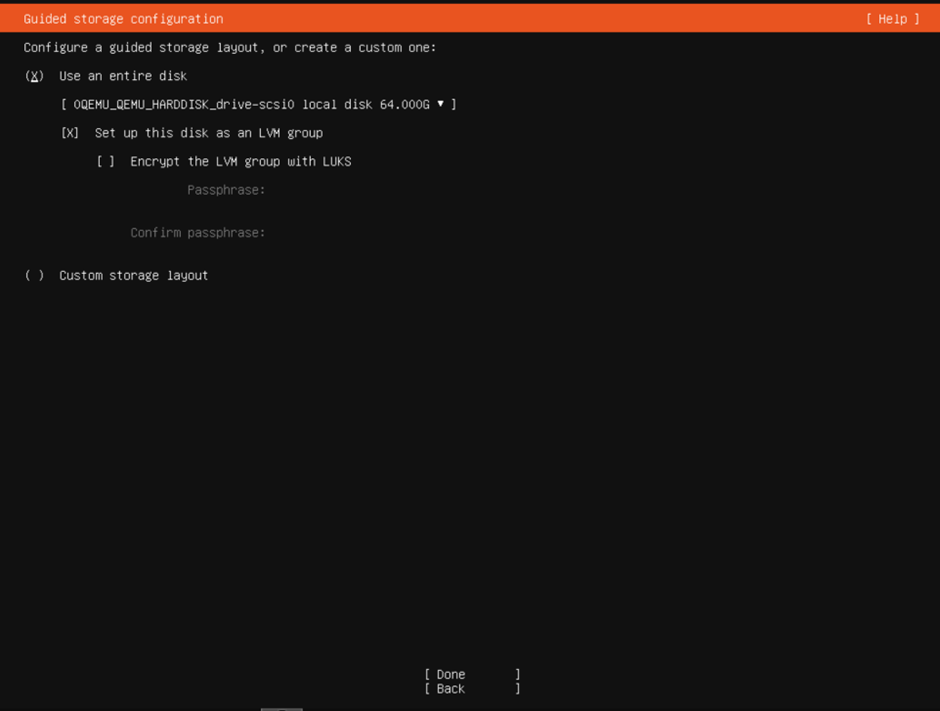
Press “Done”

Press “Done”
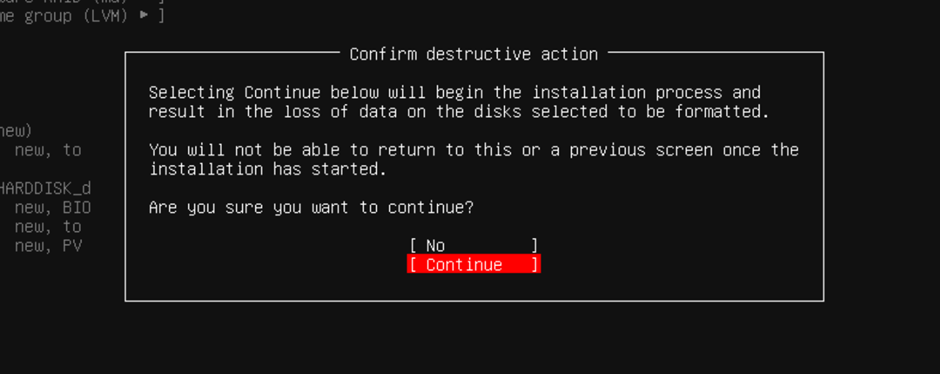
Press “Done”
Provide Hostname, Username, and Password
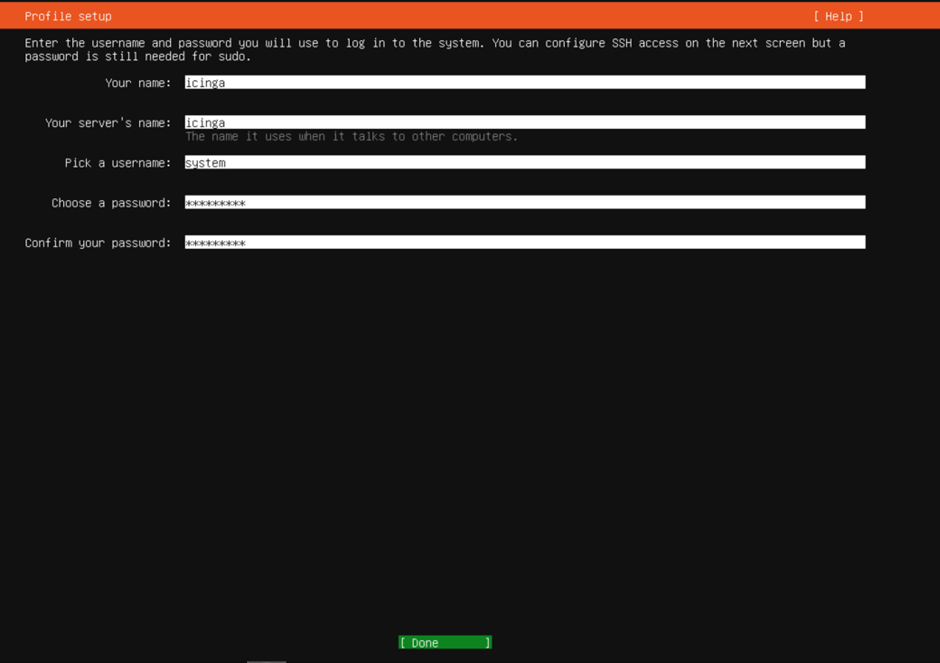
Press “Done”
Skip Ubuntu Pro

Press “Done”
Ubuntu Pro is a security-hardened version of Ubuntu that is targeted at enterprise and corporate users who cannot compromise on stability. It is sold as a subscription, but it is free for non-commercial use on up to five computers. Ubuntu Pro provides access to a set of enhanced features and capabilities for the Ubuntu operating system, designed to meet the needs of enterprise users.
Key features of Ubuntu Pro include:
- Security patching for both critical, high and selected medium CVEs.
- Kernel Livepatch to avoid unscheduled reboots.
- Systems management at scale with Landscape.
- Real-time kernel.
- NIST-certified FIPS crypto-modules.
- USG hardening with CIS and DISA-STIG profiles.
- Common Criteria EAL2.
Ubuntu Pro covers all aspects of open infrastructure and applications. It includes additional security, performance, and support features that are not available in the standard version of Ubuntu4. It’s available on Amazon Web Services (AWS) and includes support from Canonical, the company behind Ubuntu.
Ubuntu Pro is available for the Long Term Support releases Ubuntu 14.04 LTS, Ubuntu 16.04 LTS, Ubuntu 18.04 LTS, Ubuntu 20.04 LTS and Ubuntu 22.04 LTS at the time of writing. It’s free for personal use on up to 5 machines, or 50 if you are an official Ubuntu Community member.
In summary, if you’re an enterprise user looking for additional security, performance, and support features, or a non-commercial user wanting to explore these features on a limited number of machines, Ubuntu Pro could be a good choice.
Enable SSH remote access
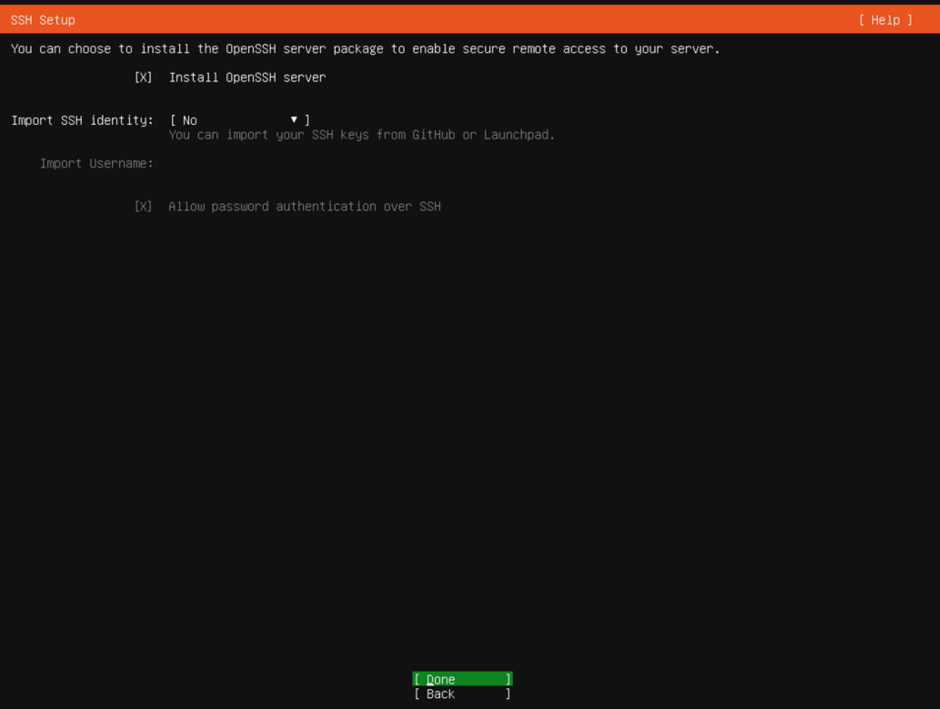
Press “Done”
Featured Server Snaps
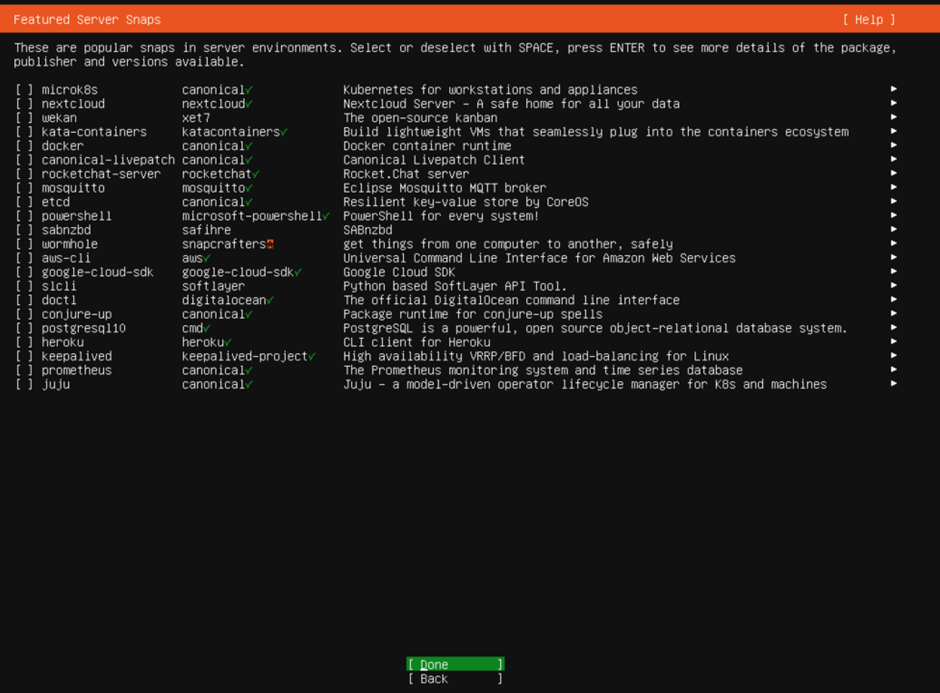
During the installation of Ubuntu Server, there is an option to install “Featured Server Snaps”. These are popular snaps in a server environment.
Snaps are a type of software packaging and deployment system developed by Canonical for the operating systems that use the Linux kernel. The system allows developers to package their applications along with their dependencies, which can then be distributed across various Linux distributions. This makes it easier for users to install applications, as they don’t have to worry about the specific dependencies required.
The “Featured Server Snaps” are not necessary for the operation of the server and are all optional applications for different purposes. They can always be installed later if you need them. Most of these applications can be installed through several means, where snap is only one of several options.
In short, whether you want to install these snaps is up to you. You can choose to proceed without selecting any if you want.
Press “Done”
Installing
Let installation and updates run until “Reboot Now” shows up.
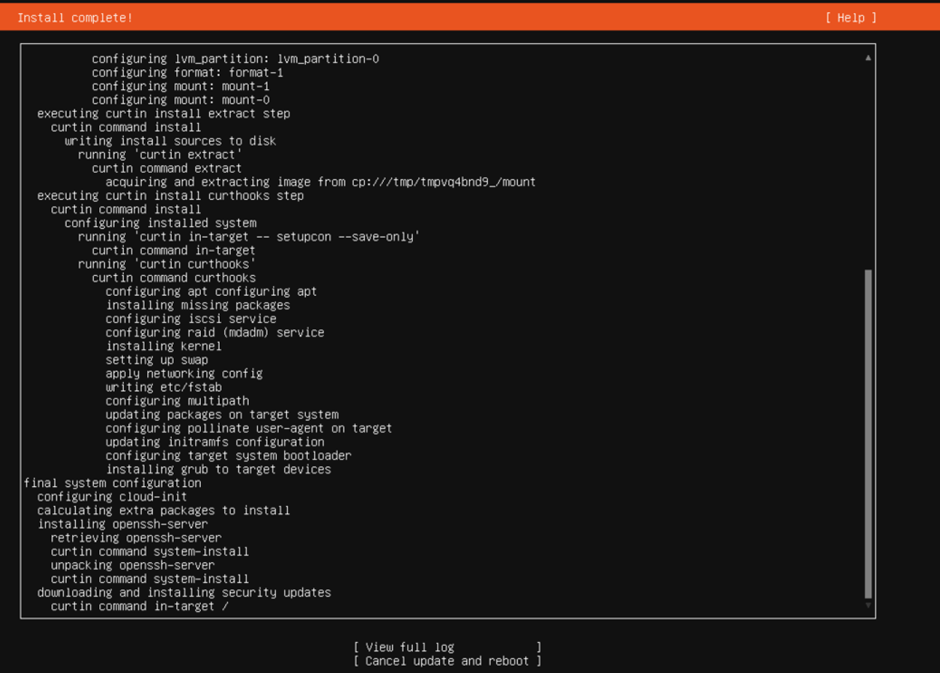
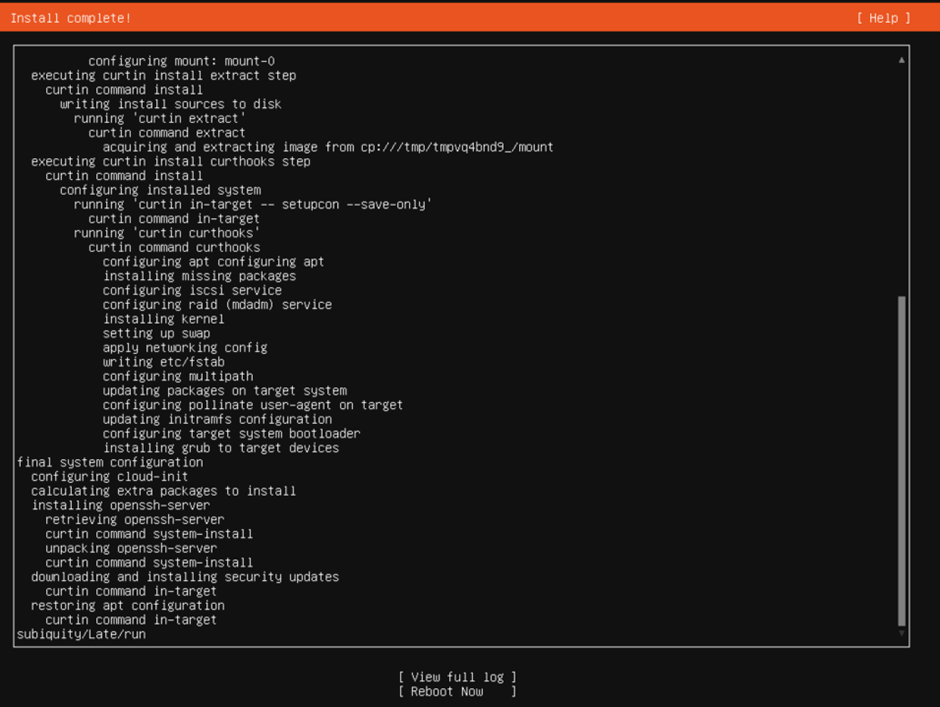
Press “Reboot Now”
Press enter when this shows up:
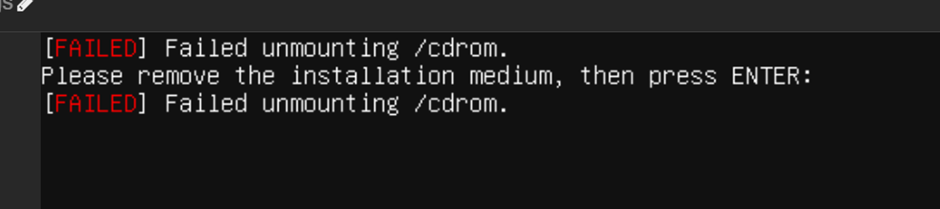
Finished
Once reboot has been completed you will see a screen similar to this:

You now have the ability to connect to your server remotely using SSH. If you’re using a Windows system, you can access SSH through the Command Prompt (also known as the MS-DOS shell).
ssh [email protected]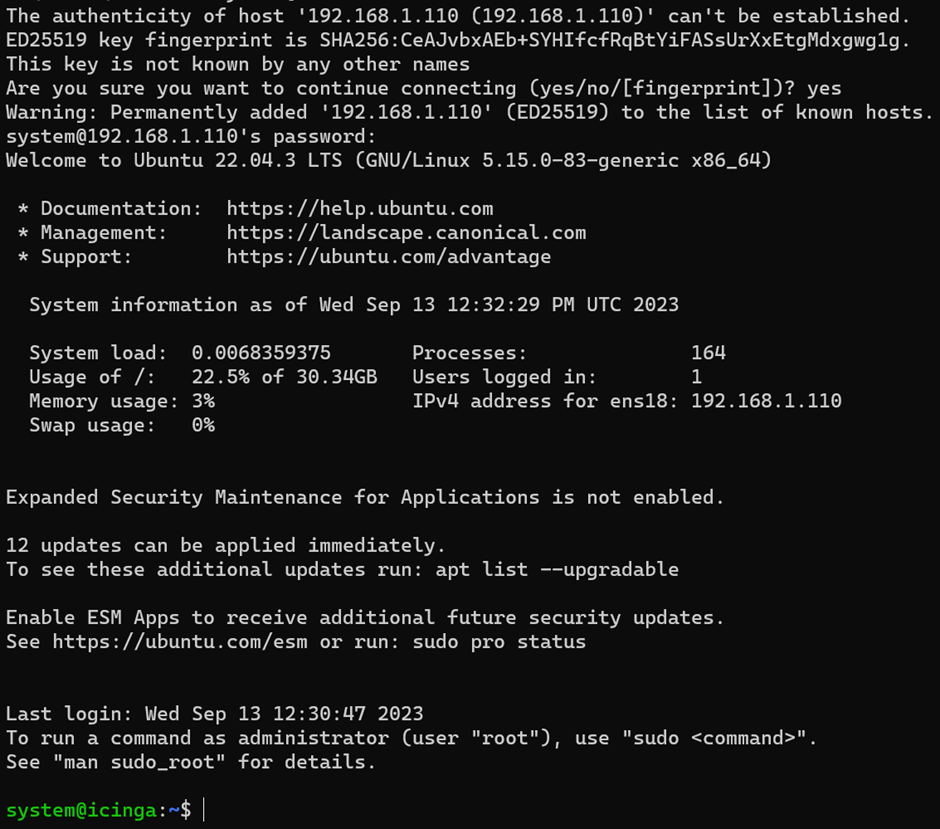
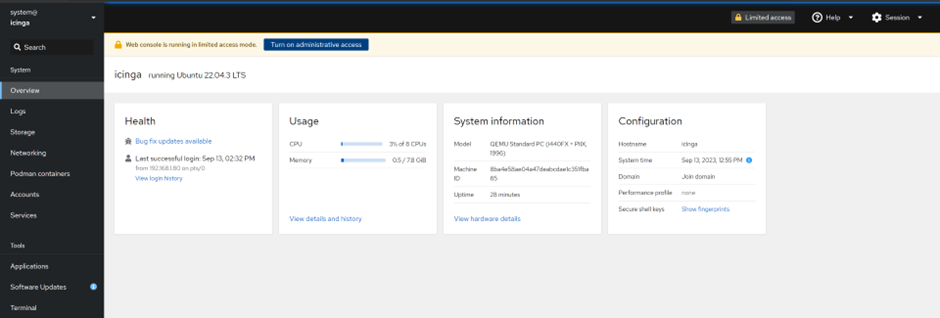
Cockpit
You can enhance server administration on your Linux distribution by installing Cockpit, a web-based graphical user interface commonly available in recent Linux distributions. Cockpit is a versatile tool for managing servers and is typically included in RHEL-based distributions like Red Hat Enterprise Linux, CentOS Stream, Rocky Linux, and AlmaLinux. It provides a convenient way to monitor server status, handle user and group management, manage storage, configure services, perform software updates, and access log data, among other tasks.
While Cockpit is pre-installed on some RHEL-based Linux distributions, it doesn’t come pre-installed on Ubuntu Server by default. Thankfully, installing Cockpit on Ubuntu Server is a straightforward process that doesn’t require advanced skills.
All you require to proceed are an active Ubuntu Server instance (for this demonstration, we’ll use Ubuntu Server 22.04) and a user account with sudo privileges. That’s all you need, so let’s dive right in.
sudo apt-get install cockpit -y
sudo systemctl enable --now cockpit.socket
Login to Cockpit
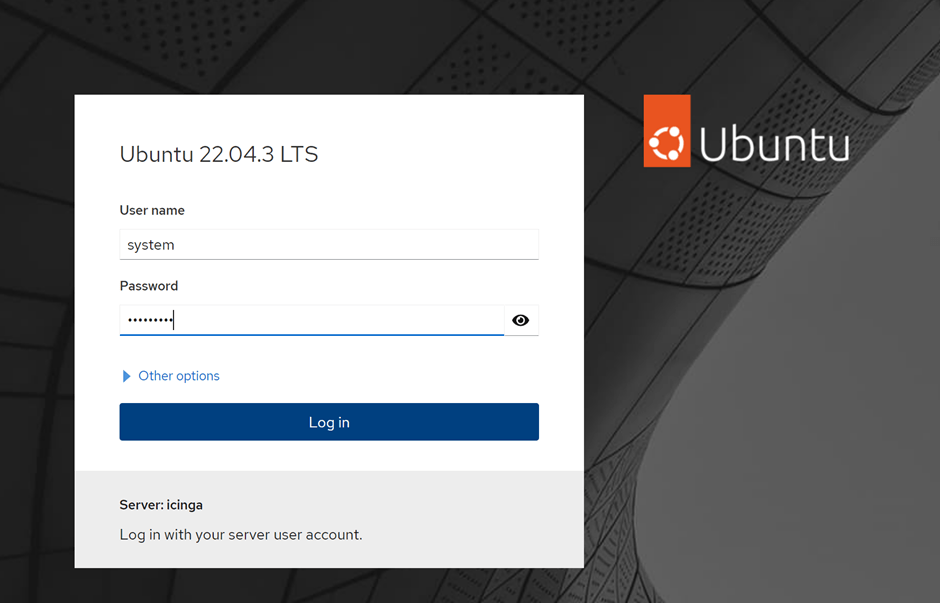
You can access the UI via https://hostname:9090 or use the IP or FQDN and you will be greeted with this login screen:
You can sudo for full administrative privileges by pressing on the button present in the warning which will ask your password again
Conclusion
In this comprehensive guide, we’ve walked through the process of installing Ubuntu Server, a powerful, flexible, and secure platform used by top organizations worldwide. We’ve covered everything from the pre-installation requirements to creating a bootable USB, navigating the installation process, and setting up your system post-installation. Whether you’re setting up a personal project or deploying an enterprise application, this guide provides the essential steps to get your Ubuntu Server up and running. Don’t forget to share this guide if you found it helpful and leave a comment if you have any questions or suggestions. Happy installing!